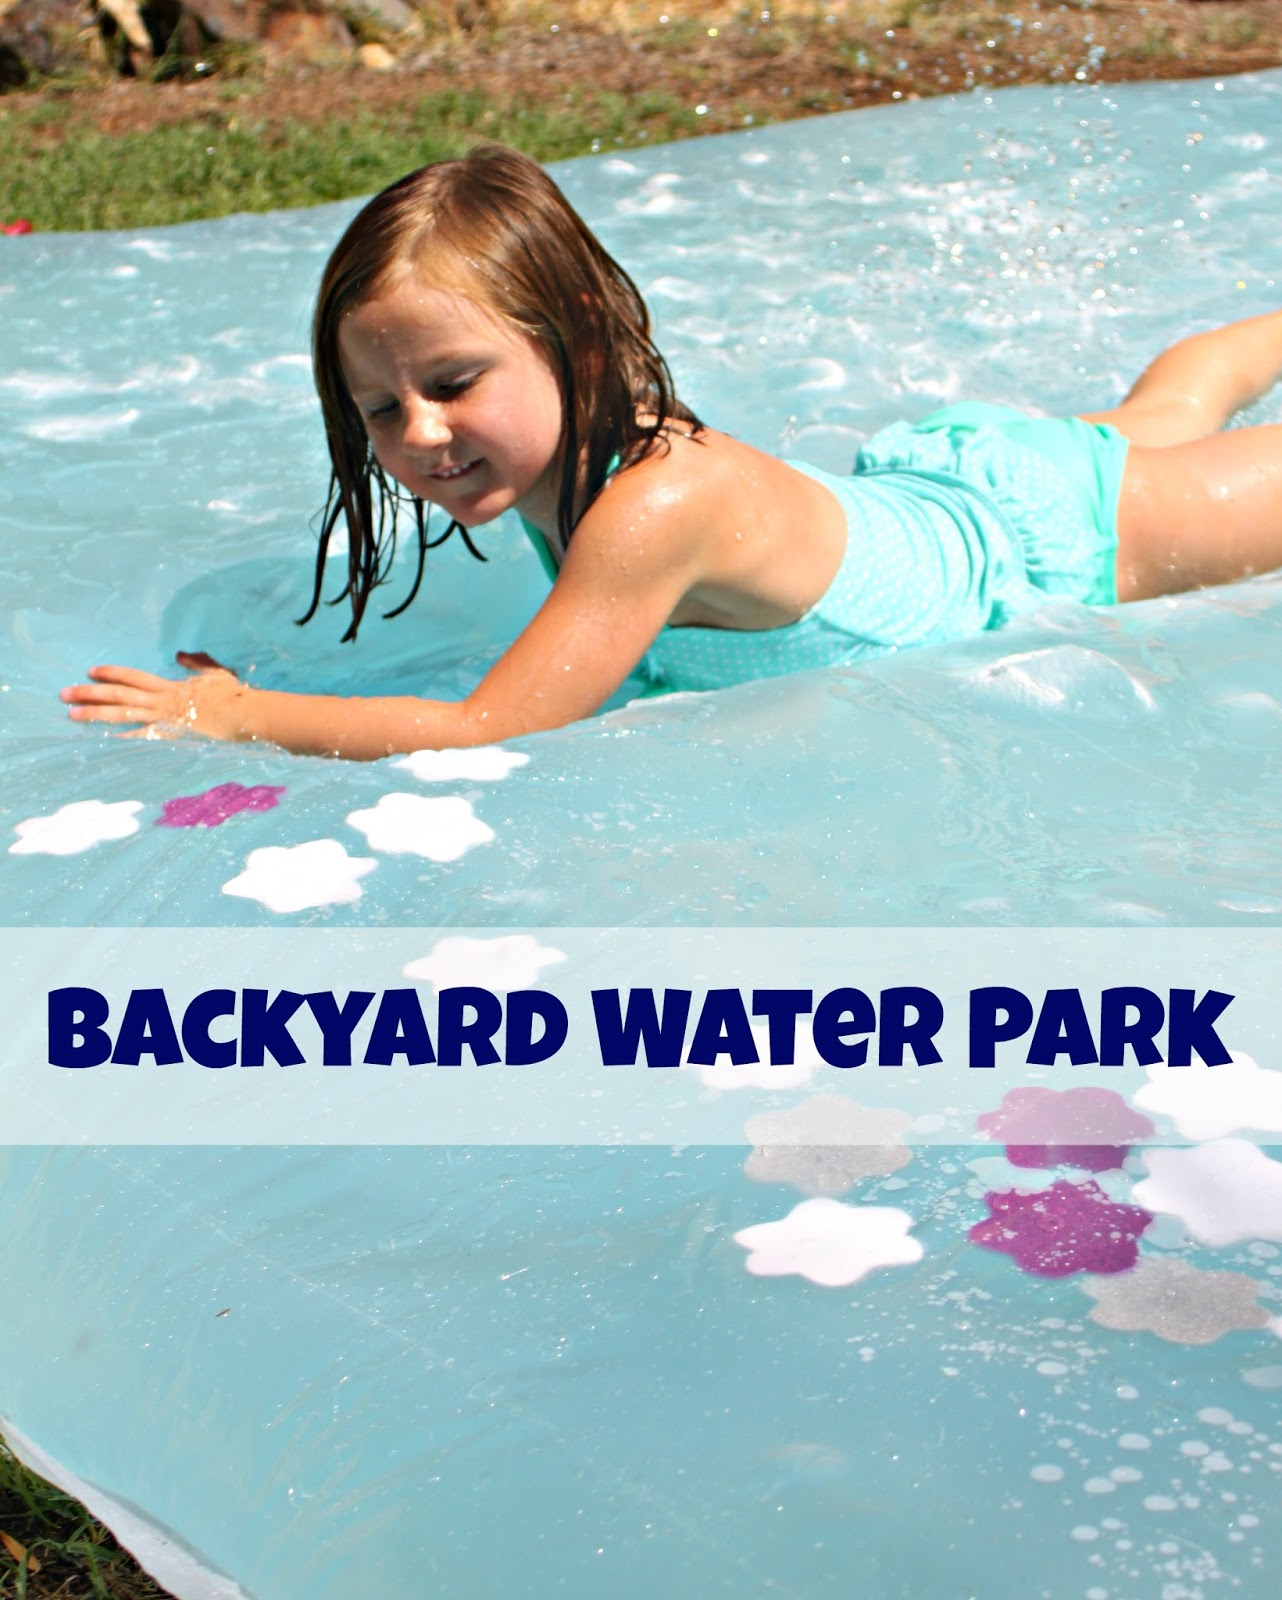
Backyard Water Park {guest post by Cassie}


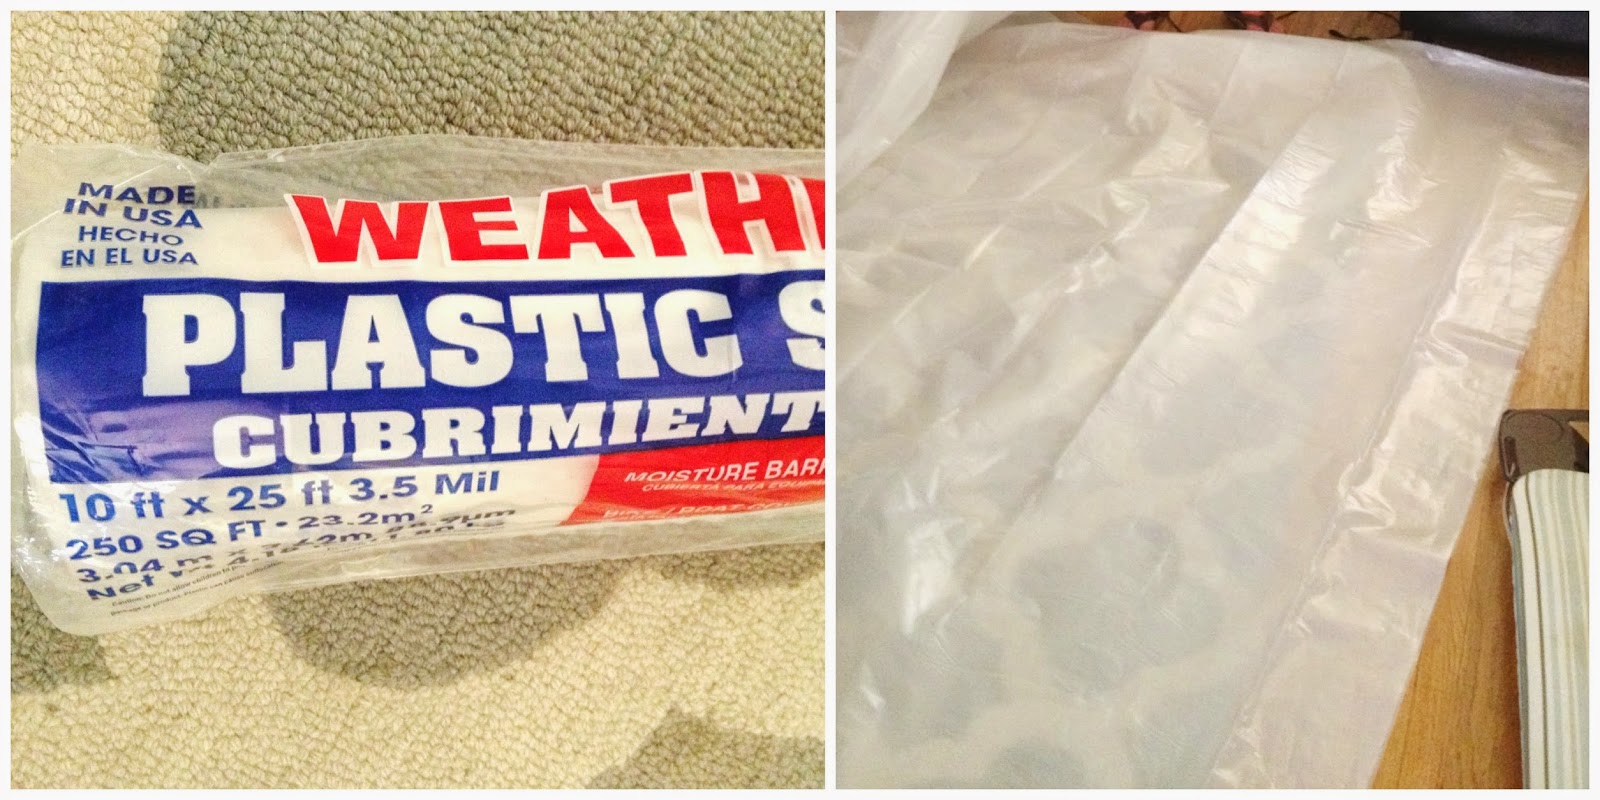


7. Parchment paper with the folded side closest to you and open side facing out. Pull your plastic sheeting into your parchment paper guide (its kind of like a pocket) all the way until it hits your fold

11. When it is time to fill it up make sure to choose a place that is as flat as possible. **we had a slight incline on one side, so it made for a little bit lopsided blob and air bubbles…both things the kids did not notice =)**
12. Prop your hose up on a 1-2 foot object so that as the blob fills up, the hose does not come out
13. After the blob was slightly full I added, water coloring (one whole bottle), glitter and foam cut outs to create more interest
14. After the Blob is filled up enough to your liking (it took about hour) seal the hole with duct tape. **after trial and error, we found that sealing the seem with one piece of tape, then folding it and taping it again worked best , dont be afraid to be generous with the tape!**
15. We also squirted water on top of the blob to make is slippery and wet
16. Go WILD!
***Notes***
-Once we had about 6+ kids on it at one time, the blob did get a hole, BUT the water did not gush out of it like I thought would happen, in fact it still retained its shape…and made it more fun, the kids would jump on it and then water would squirt out! It is probably because the hole was on the top of the blob, I am sure it was on the bottom it would not have been as much fun. I was super impressed how durable it was- it lasted through a 3 hour party of 10 kids, I am pretty happy about that!
-Also, please note if you fill the blob with glitter and then drain it in your backyard, you will have a sparkling, shimmery, blinding backyard for who knows how long- we are still reaping the effects
– I have to give a shot out to Leisha from Homemade Toast for creating this genius method of making the blob without so much tape and I think with better results! Of course ours still leaked, but that was inevitable with so many kids on it.


Freeze a little toy and let the kids figure out how to get it out! They used hammers, spoons, threw it on the concrete (make sure to supervise that one!) or let it melt on the hot concrete until they found their new prized possession!

This fun water element- Liter Bottle Shower- is made with: 1- 2 Liter Bottle, female to female connector (found at Home Depot), drill holes in the bottom and attach to hose….voila! Splash Zone!


Another fun way to get wet was throwing around SPONGE BOMBS! Whether you were being hit by one, or just happened to be underneath as they were being launched around the backyard, you were sure to get wet!


1. I bought about a dozen or so sponges at the 99 cent store (2 pack for $1!)
2. Cut the sponges into stripes
3. Stack them on top of themselves- I did 6 stripes but you could easily do 8 or 4 just depends on how big or small you want them
4. Cut a strong string
5. Tie tight around and knot it well
6. Bombs AWAY! Your in business!


Thanks for having me Gina! Hope the house escaped with little damage from the leak, yikes!
Thanks, Cassie!
The leak, well, it’s only leaky if it’s raining. We’re still working on getting it fixed. Eventually.
Hey,
I recently came across your site and I’m wondering if I can post one of my articles here.
I’ve been writing up home improvement articles too and would love the chance to write
on your blog but I couldn’t manage to find your email. If you could get ahold of me at ikatie.jones@outlook.com?, I would greatly appreciate it.
Thanks,
Katie
Thanks for getting in touch! I will email you. I’m sorry you couldn’t find a contact. I will fix that on my site, too.